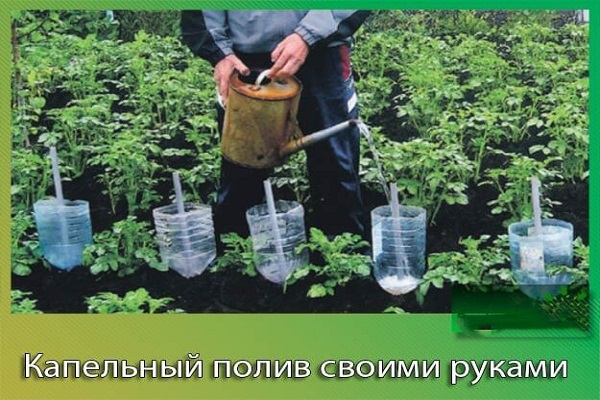
DIY drip irrigation for tomatoes from plastic bottles
Growing a tomato is very hard work. The main problem with this case is that there is almost always not enough time to come and water the tomatoes, so some craftsmen came up with an original, saving method - watering a tomato in a greenhouse through plastic bottles. This method will help save water, will not harm the soil and prevent moisture from getting on the leaves. Now we will consider how to organize such a system in our greenhouse without any costs, including time and effort.
We prepare everything you need
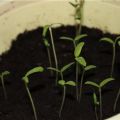
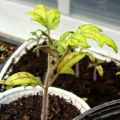
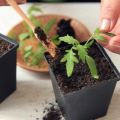
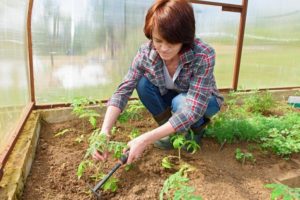
Knowledgeable people recommend installing an irrigation system at the time of planting tomato seedlings. Why is this needed? The fact is that when the bushes more or less grow, the installed drip irrigation bottles can touch the roots of the plant, which will also grow. List of required tools:
- Plastic bottles, the volume of which should be 2-2.5 liters.
- Hand drill.
- Small diameter drill (2 mm).
- Knife or scissors (sharp).
Someone may not understand the meaning of the presence of a drill in this list, but everything is simple. With it, you will punch holes in the lid. They will need to be made from 3 to 4 pieces, it all depends on the type of soil. If there are few holes, the liquid flows out very slowly. By the way, in the absence of a drill, it doesn't matter, you can safely use a hot nail of a small diameter. You need to hold it with pliers to heat the nail over the column of the gas stove, so that it turns red. After that, you can easily punch holes in the plastic.
Next, you should tackle the bottle:
- Wash it well and remove the sticker, if any.
- Next, using a knife or scissors, you need to cut the bottle. This is done just above the dividing line.
- Try not to cut off the bottom completely, as it can act as a hinged lid that will protect the water from drying out.
How to install the system correctly
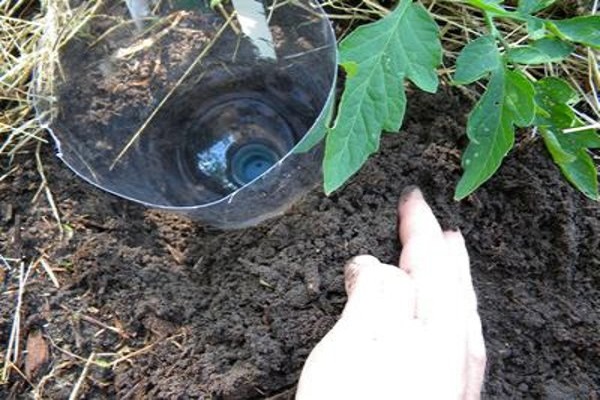
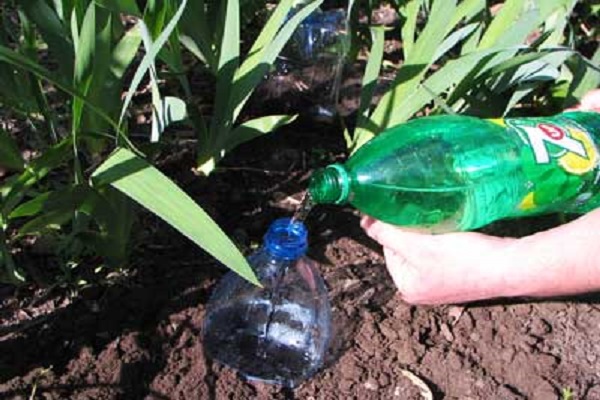
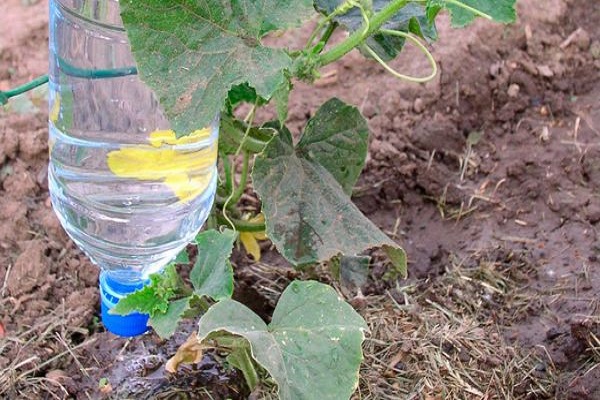
There are several good ways. Let's start with the one that is used most often. So, if the bottle is ready, you need to bury it in the ground to a depth of 10-15 centimeters. For better irrigation, you need to install the container right near the root. However, it should be borne in mind that this is only possible if the installation of the system occurs along with the planting of seedlings. Otherwise, you can dig in the bottle at a distance of at least 15 cm from the trunk of the bush.
It should be borne in mind that moist soil will clog into the holes in the plug and watering will quickly stop. To avoid this, you should tighten the cork outside the bottle with a nylon stocking or lay a piece of burlap on the bottom of the hole.Tighten the cap well, then set the bottle in the ground, but at an angle. It remains only to fill the hole with earth. Next, fill the container with water to start watering. Please note that the water should be used up gradually so that it lasts for several days. In the case when the liquid is poured out quickly, it is necessary to reduce the diameter of the holes. During the summer, especially during the dry season, one plant should consume a glass of water per day. If done correctly, the water will need to be added about once a week.
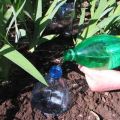
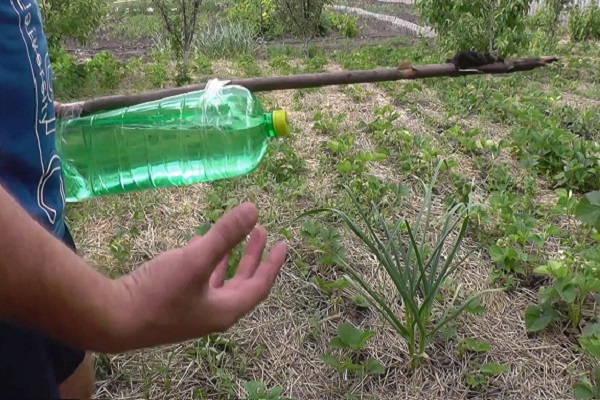
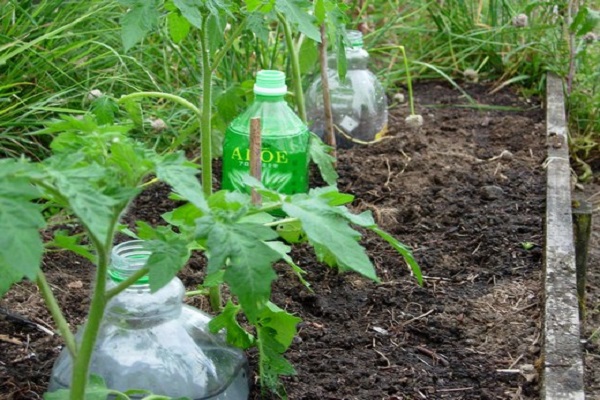
Now let's discuss another original way. Its essence is that holes are made throughout the bottle in 5-6 rows at a distance of 2 cm from each other. Next, the container must be buried by placing it in an upright position in one hole along with the seedlings. The method is slightly inconvenient, because you need to fill the bottles through a narrow neck, but there are also advantages, for example, the water does not evaporate, since almost the entire bottle is in the ground, and the container will not fall, it will not be blown away by the wind.
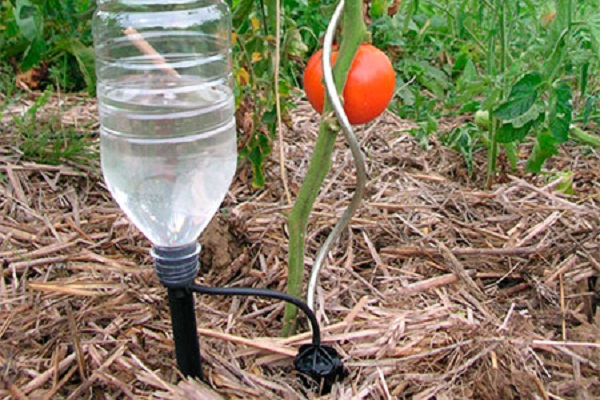
Watering through straws
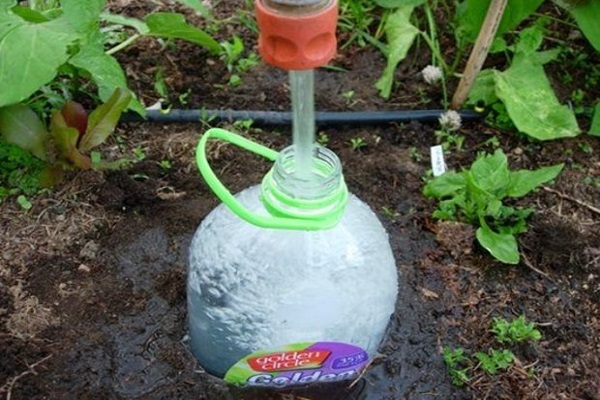
There is one more method that is used less often than the previous two, but it takes place. To organize the irrigation system, you should find the rods from the pens from which the nib and ink residues are removed, or you can use a narrow diameter cocktail tubes. The system is installed in the following way:
- The rod is well washed, there should be no ink remaining in it.
- One side needs to be plugged with something, such as a match or a piece of wood.
- Next, you should go down 1 cm from the plug and pierce the hole. The free end is inserted into a bottle that has been previously buried in the ground. The rod is brought directly to the soil.
- Where the connection of the tube and the rod takes place, you need to cover it up with plasticine.
- The tube should be brought directly to the stem so that water droplets fall onto the root system. If the water pressure coming out of the tube is too weak, you should slightly increase the size of the hole, make it wider. This is not always possible, then a new tube must be used.
This method may take a little more time and effort than all the previous ones, so it does not have such popularity. It is necessary to look for rods, rinse them from ink, close one side. However, if you use cocktail straws, it is still easier, since all that remains is to plug one of the sides and create a hole.
The advantages of this irrigation method
Now let's consider the advantages of do-it-yourself drip irrigation from plastic bottles for tomatoes:
- The most important thing is that you do not need to spend money, the method is available to absolutely everyone.
- Simplicity. It will take very little time and effort to install an irrigation system in this way.
- You can organize the flow of fertilizers dissolved in water directly to the roots.
- You do not have to constantly water the plants, you can safely leave them for a week and not worry.
- Protection against fungal diseases that are formed due to an excess of soil moisture.
- There is no need to loosen and soften the soil.
- Watering will take place with warm water, since being in the bottle, the liquid will warm up to ambient temperature.
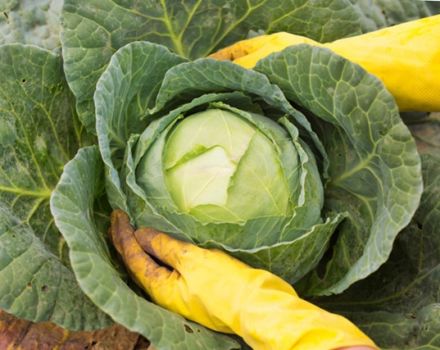
- The watering method is versatile. It is great for cucumbers, cabbage, tomatoes, peppers, eggplant.
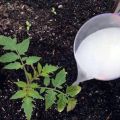
Please note that you do not need to use the method for plants whose roots are fruits. When watering a tomato through plastic bottles in greenhouses, do not completely forget about manual watering, since sometimes it is still worth watering the leaves, this is useful.

Tips
It is allowed to use the method of drip irrigation with plastic bottles and in the open field for peppers, tomatoes, cucumbers and others. It is recommended to irrigate tomatoes only in this way, as they do not like a lot of moisture. If you use a system for eggplants and peppers, it doesn't hurt to water them additionally, as they love moisture very much.
It is also recommended to install under cucumbers by watering from bottles. In addition, they need to be watered additionally from a watering can, since they are moisture lovers. However, if you forget to water them one day, they will be able to survive it, because sometimes there is no time at all for watering or flies out of their heads.
Conclusion
So we looked at several ways how do-it-yourself drip irrigation of tomatoes is performed using bottles. Surely many do not want to spend money on special ready-made systems, and they will like this method. The costs for it will be minimal, and often they are completely absent. You no longer have to constantly come to the greenhouses and water the seedlings, as this will happen automatically during the week.