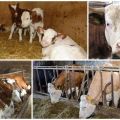
The dimensions of the anti-break for cows and how to do it yourself, accustoming to milking
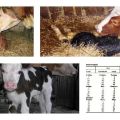
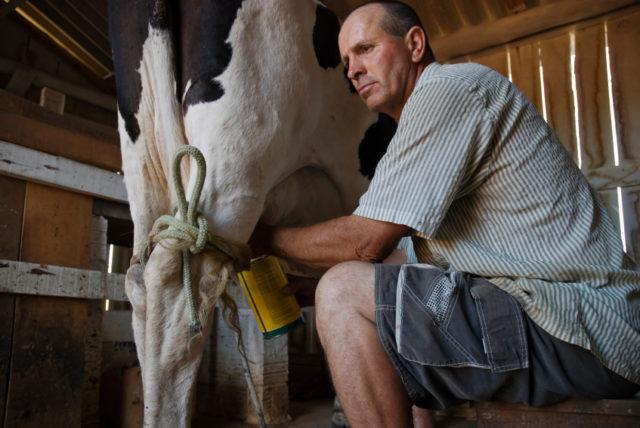
Obviously, one should not expect high milk production from first-calf heifers. Therefore, it is very important to milk a young cow correctly, to accustom her to the milking procedure. Very often, first-calf heifers resist the milking process, start kicking and kicking. A special holder will help to solve the problem. Making an anti-break for a cow with your own hands is not difficult. Using the item also does not require special skills.
Why does a cow kick during milking?
There are several factors that can make it difficult to milk a cow:
- The young cow is not accustomed to milking.
- Severe stress caused by sudden changes in the environment (usually when moving). Aggressive behavior in this case is a manifestation of a defense mechanism.
- Mastitis. The painful sensations increase when the udder is squeezed.
- Incorrect milking technique. Inappropriate actions can cause discomfort to the animal, causing the cow to kick.
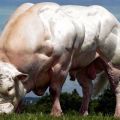
- Damage to the udder or teats. Before the procedure, you must inspect them for injury. If there is one, the problem area should be disinfected.
- Non-compliance with the milk intake schedule. This leads to a violation of the daily routine, as a result of which the animal reacts aggressively to any attempts to interact with it.
- Fatigue. Collecting milk takes effort from the cow. A tired chick can kick and kick.
- External stimuli (for example, loud noises, flash of light, sudden movement) distract the animal and can greatly scare it.
In most cases, first-calf heifers quickly become accustomed to milking, usually within the first three months after calving.
How to Train a First Heifer to Hand Milking
It is very important to teach a young cow to milking, otherwise milk intake will be greatly complicated. You can achieve the result with such folk remedies:
- Two to three months before calving, you should regularly stroke the udder and belly of the cow.
- Tie up your front leg and lift up. Since the cow will only lean on three limbs, she will not be able to kick.
- Entangle the hind legs with the rope.
- Before milking, place a heavy cloth soaked in warm water on the withers or back. The animal will relax and will not resist.
- Tie the cow by the horns so that she cannot leave her place. Then place a container of food in front of her and gently start milking. You need to start with one nipple, gradually moving on to the next. After several such procedures, you can milk more intensively - for two teats.
- Combing with a comb. While one person is combing the cow, the other is collecting milk.
- Make or purchase a cattle split.The device is a machine for zootechnical and veterinary manipulations.
- Using anti-break.
To reduce the stress of moving, it is necessary to achieve the maximum similarity of the new conditions of detention to the previous ones (feeding, walking, etc.).
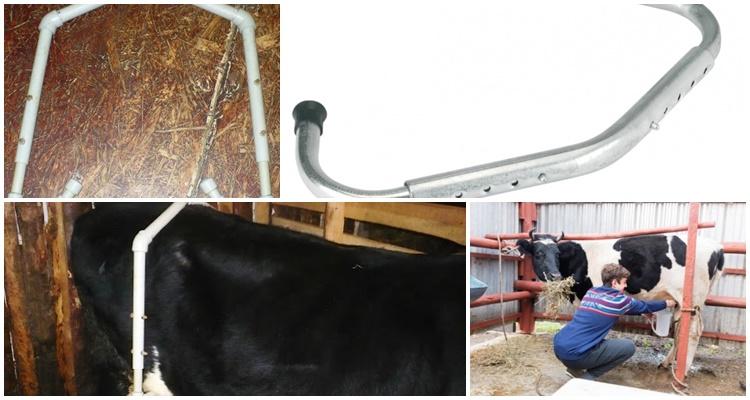
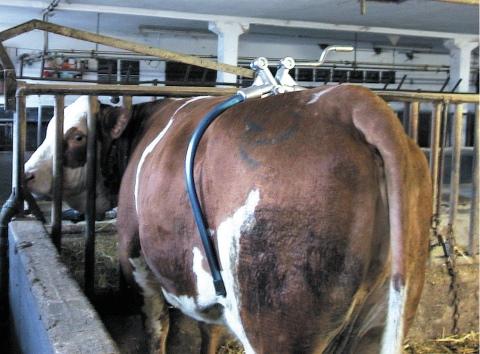
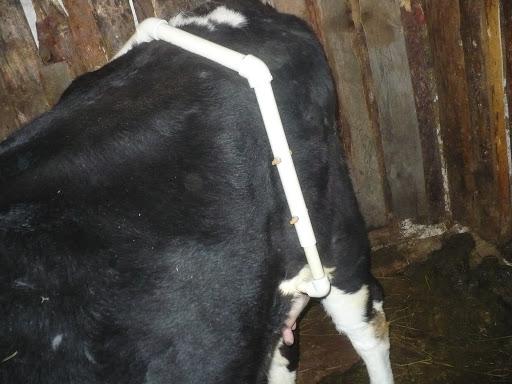
How to make a do-it-yourself anti-break
The device ensures that the cow is still during milking. The device is of two types:
- unilateral;
- double-sided.
The most common option is the first. To make it you need the following parts:
- two curved pipes of the same shape and size (each must have one hole);
- a concave tube with a larger diameter than the previous tubes (the bend must be symmetrical);
- corner springs of appropriate sizes;
- rubber caps for pipes.
Making an anti-break assumes the following algorithm:
- One angle spring is inserted into each pipe of the same type (the button must go through the hole).
- Tubes with a smaller diameter are inserted into the third tube. At this point, the buttons should be pressed.
- The edges of the anti-break are closed with caps to protect the animal from injury.
It is important to correctly size the attachment to fit the cows.
Rules for using the antibryk system
If making a device at home is not difficult, then using it is even easier. You need to dress a cow in an antibryk as follows:
- Hook the lower part of the device into the fold on the front leg.
- Adjust the pipe length using the button. There should be enough distance so that the second edge of the anti-break can be fixed on the back. In this case, the cow's leg is raised, due to which the animal's movements are limited - the heifer will not be able to kick.
- Start collecting milk.
If the cow does not allow herself to be milked, twitches and kicks, this does not mean at all that the cow needs to be culled. There are many ways to train a first heifer to milk. The main thing in this business is patience and the ability to choose the most suitable option for this or that animal.