Rules for growing potatoes using Dutch technology
In pursuit of yield, summer residents invent various methods of growing crops. The Dutch technology for growing seed potatoes is considered one of the most popular among gardeners. Having studied all the nuances of the Dutch technique of growing potatoes and applying it in practice in the fall, it will turn out to grow a good harvest without much effort.
Content
- 1 Dutch technology: general principles of methods and peculiarities of cultivation
- 2 Technology advantages
- 3 disadvantages
- 4 Selection and preparation of planting material
- 5 Soil preparation
- 6 Autumn processing
- 7 Spring preparation
- 8 Dates of planting potatoes according to Dutch technology
- 9 Landing scheme according to Dutch technology
- 10 Plant care
- 11 Weed control
- 12 Treatment against pests and diseases
- 13 Fertilizers
- 14 Hilling
- 15 Watering
- 16 Harvesting
- 17 How to adapt Dutch technology to summer cottage conditions?
Dutch technology: general principles of methods and peculiarities of cultivation
The Dutch cultivation method is based on the following points:
- Compliance with a certain scheme for planting root crops.
- Fertile crops need to be alternated.
- Mandatory use of fertilizers and chemicals.
- Seed potatoes for future plantings must be collected in advance.
- Before planting root crops, the soil is fertilized with special solutions.
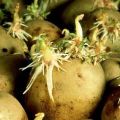
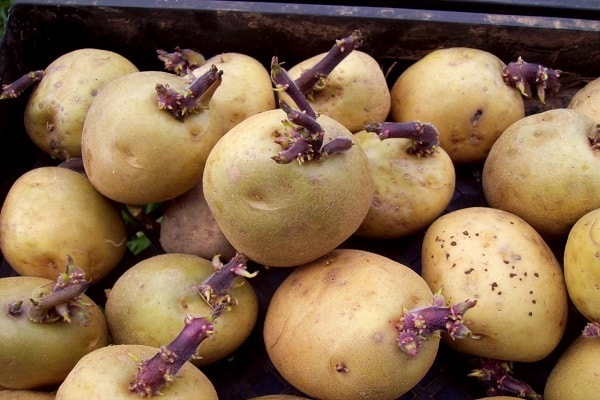
The Dutch method of growing seed potatoes begins with germination. It is not necessary to germinate potato tubers before planting, and many summer residents do not do this, getting a good harvest in the fall. But to increase yields, germination of root crops is considered a necessary measure.
Germination of seed potatoes has a number of features that are important to consider before starting the process.
Seed potatoes are planted without preliminary preparation, but in this case, no one can guarantee that all the seeds will sprout. Even shoots will appear, they are weak and thin and quickly die. Pre-germination of planting material will reduce the cultivation time of the culture to two weeks. Different varieties grow at different rates. But on average it takes 4-6 weeks.
If less than a month is left before planting, the tubers are placed in a room with a temperature above +25 degrees. Sprouts under these storage conditions will appear 20 days earlier.
Technology advantages
Among the advantages of this method are high potato yield... Observing all the recommendations to increase the yield to 30–45 tons per hectare of land.
The rapidity of plant growth and development of root crops, their size and number in one bush is another advantage of using this particular method.
disadvantages
No significant disadvantages were found in the Dutch growing method.The only drawback is that you will have to spend a lot of time on cultivation. Preparation of root crops, germination of sprouts and drawing up a planting scheme in the open field. Otherwise, there are no downsides and the method has proven itself perfectly.
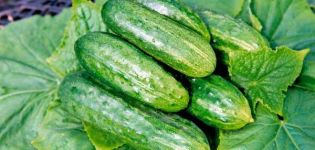
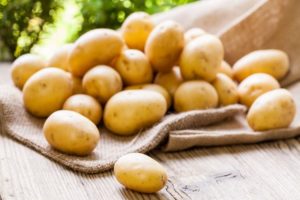
Selection and preparation of planting material
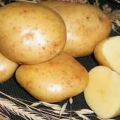
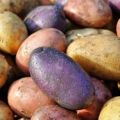
You need to prepare potato planting material immediately after harvesting it. The harvested crop is sorted out, gnawed and damaged roots are thrown away. Then the healthiest tubers are selected. It is not advisable to use large potatoes for planting.
The optimum sowing potato size is a medium sized root crop with a regular shape. Their average weight is 40–90 g. If you take large potatoes, the aboveground part will develop much faster than the underground one. And if you use small fruits for planting, then the harvest will be poor. Selected tubers are folded separately from the entire crop and left for the winter.
The second stage of preparation begins with the onset of spring, 30–40 days before planting in open ground. First, they sort out the seeds and throw out any damaged or moldy ones.
You can prepare seeds for planting in various ways:
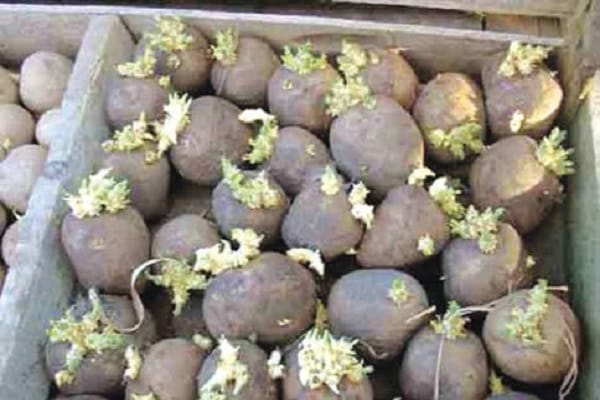
- Germination.
- Greening.
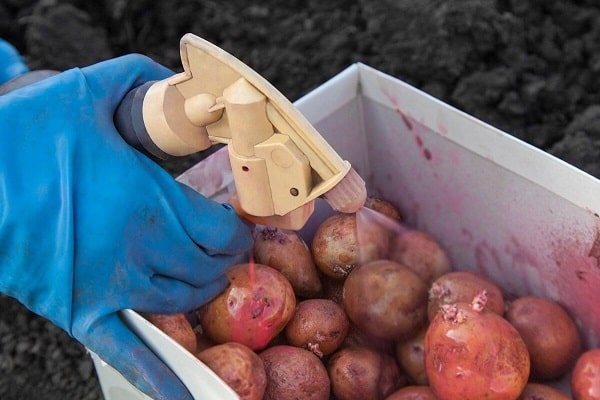
- Spraying with mineral growth stimulants and disinfectants.
Before sprouting potatoes, it must be disinfected. For this, a solution of vitriol with an admixture of potassium permanganate is used. To prepare the solution, you will need 10 liters of water, 3 g of copper sulfate and 11 g of potassium permanganate. All ingredients are mixed and the tubers are immersed in liquid for 25 minutes. After the procedure, it is dried dry.
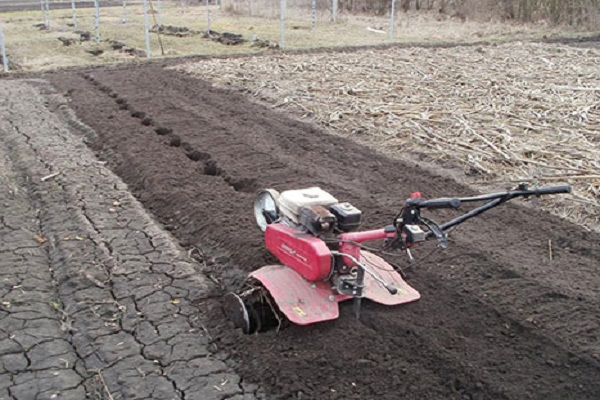
Soil preparation
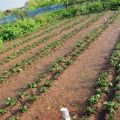
The Dutch method of planting potatoes in the open field consists in preliminary preparation of the soil. The main goal of this method is to create an optimal loose soil structure for planting. Therefore, land preparation consists of autumn and spring cultivation.
Autumn processing
Preparing the substrate with the onset of autumn is the basis of the Dutch potato root crop cultivation scheme. Immediately after harvesting, the site is dug up, all weeds are removed and mineral fertilizers are applied. The soil is dug to a depth of 20 to 36 cm.
Special plows are best suited for plowing, which dig up the top layer of soil and swap it in places with the bottom. This is to prevent insects from appearing in the fall. Most pests of agricultural crops prefer to winter in the soil and spoil the harvest in spring.
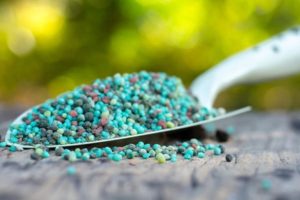
Nitrogen-containing fertilizers have won special love among the Dutch. In autumn, the soil is fertilized with ammonium nitrate. Also, the earth is disinfected with a solution of potassium permanganate or iodine.

Spring preparation
In the spring, the soil is not dug up, but simply loosened with a cultivator. Loosening of the soil is necessary to a depth of 12-15 cm. This should be done after the earth warms up to +10 degrees. There are two types of soil preparation in spring and depends on the type of soil:
- Deep loosening (used if the soil is fertile and well-drained). For loosening, it is preferable to use a pitchfork and dig only the top layer with them.
- Digging the soil (used on the ground, rough and prone to acidification). It consists in cultivating the soil to a depth less than in autumn, but subject to the removal of weeds on the site.
Another factor to be observed when planting potatoes - this is the observance of crop rotation. In areas where potatoes have grown for several years in a row, it is not recommended to plant them again. The best precursors for potatoes are legumes, pumpkin or cabbage.
Planting green manure plants before planting potatoes is also effective. Most often, peas, alfalfa, mustard, sweet clover or clover are used as siderates.
After loosening the soil, the second stage of soil preparation is the application of fertilizers. Before planting root crops, phosphorus is introduced into the soil in the form of Superphosphate, and potassium in the form of potassium sulfate. After 20 days after emergence, ammonium nitrate is added to the beds.
Dates of planting potatoes according to Dutch technology
Most summer residents prefer to plant root crops immediately after warm weather sets in at night. The main criterion is the soil, if the earth leaves the shovel well, then it's time to plant the planting material. But this method for determining the timing of planting is not the most effective and in some cases reduces the yield.
According to the Dutch growing scheme, the timing of planting potatoes is determined by the readiness of the soil for planting. You need to plant root crops after the substrate "ripens". To determine readiness, you need to take a small amount of earth in your fist and throw it down from the waist height. If a lump of earth crumbles, then you can start planting. If not, then you need to wait until the substrate dries a little more.
It is also worth focusing on climatic conditions. If the weather is warm during the day, and frosts come at night, then the landing should be postponed for some time. Most often, potatoes are planted in late April - early May.
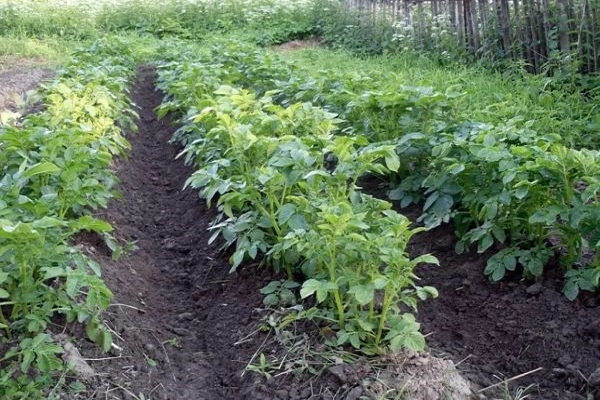
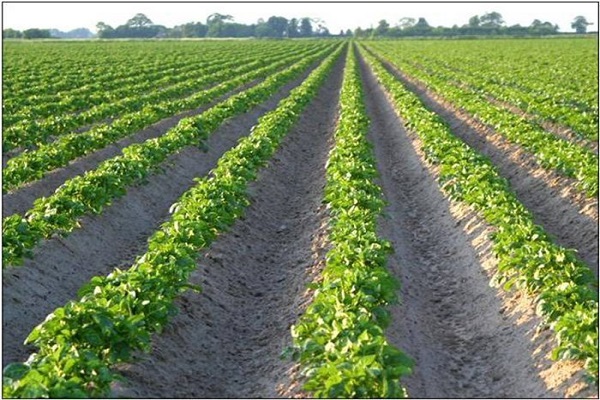
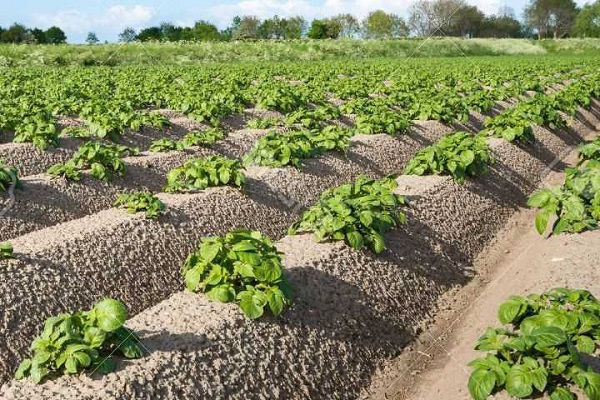
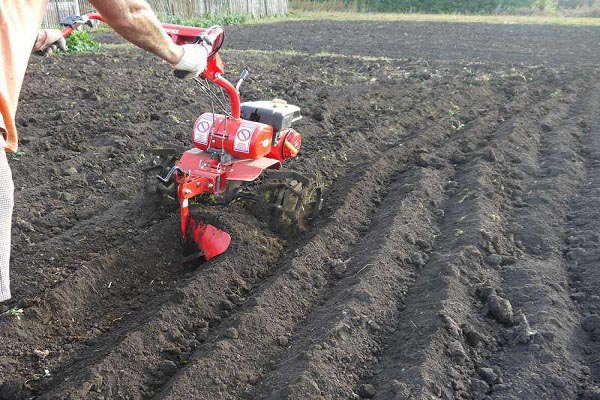
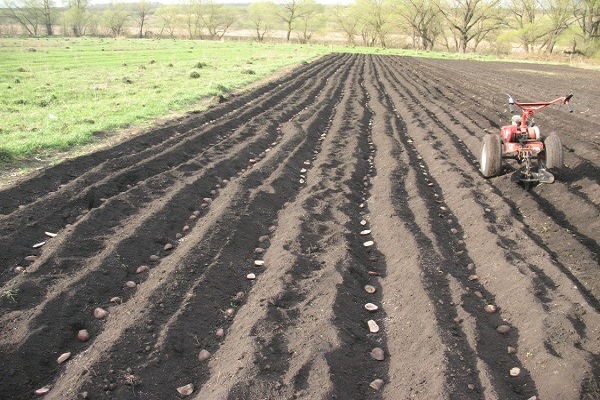
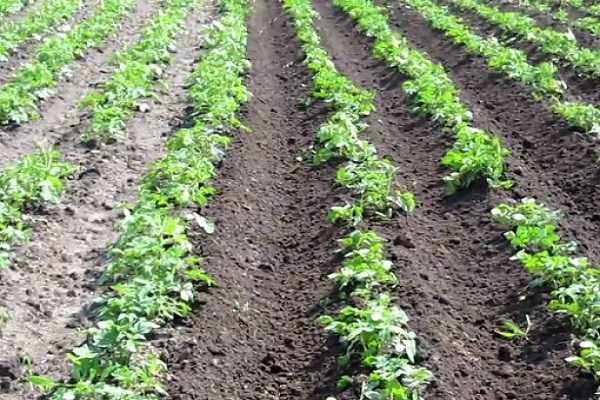
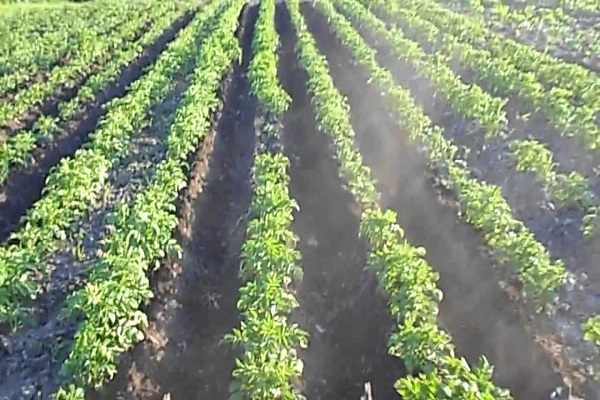
Landing scheme according to Dutch technology
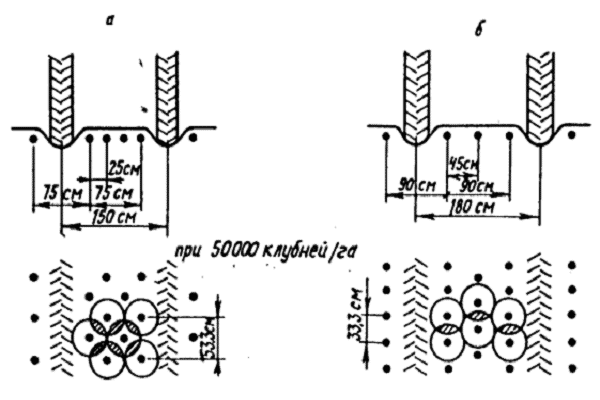
A person who first decides to grow potatoes according to the Dutch method at first seems that a huge amount of empty space is wasted. For 1 sq. m planted only 5-9 root crops. But in fact, the large distance between the bushes allows the formation of more tubers in each bush.
The Dutch growing method gives the potatoes the following conditions:
- Enough heat.
- The soil is always saturated with oxygen.
- Regular feeding.
Potato beds are planted according to a specific algorithm. The soil is loosened with a pitchfork or using a cultivator. Remove all weeds. The distance between each row is left about 70-85 cm, between each bush - up to 30 cm. The holes are dug to a depth of 7-9 cm.
The second stage of the scheme is the introduction of dressings. They are thrown so that the fertilizer is under the root crops. Then a small amount of ash and crushed shells are poured. Onion peels are used to prevent wireworms and slugs.
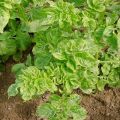
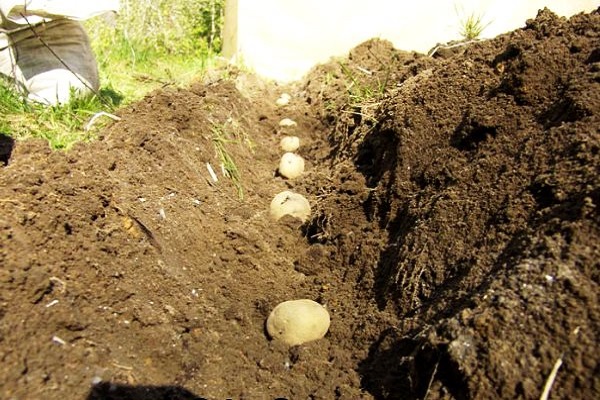
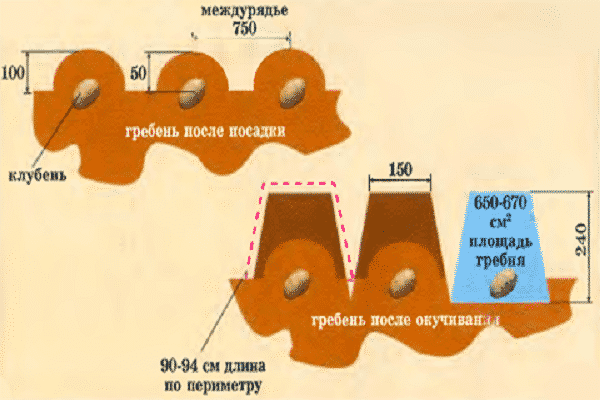
Root crops are laid with sprouts up and covered with soil. A week after planting potatoes, weeds can be seen on the site. They need to be flushed out as quickly as possible before they start to grow. After the sprouts begin to appear, they are spud. The height of the ridges should be 10 cm. If there is a risk of frost at night, sprinkle the sprouts with soil, and when warm weather sets in at night, the stems are straightened and carefully set evenly.
12 days after planting, the potatoes are spud again. This time, the height of the ridges is 25 cm. The width at the base is about 75 cm, and the width at the top is 30 cm. When the Colorado potato beetle appears on the landings, they are treated with insect repellants as needed.
Plant care
A characteristic feature of this growing scheme is the care of seedlings and adult plants. The care includes the treatment of plantings from weeds and pests, the prevention of diseases of agricultural crops, the introduction of fertilizing into the substrate and hilling. If potato plantings are small, then additional watering is possible.
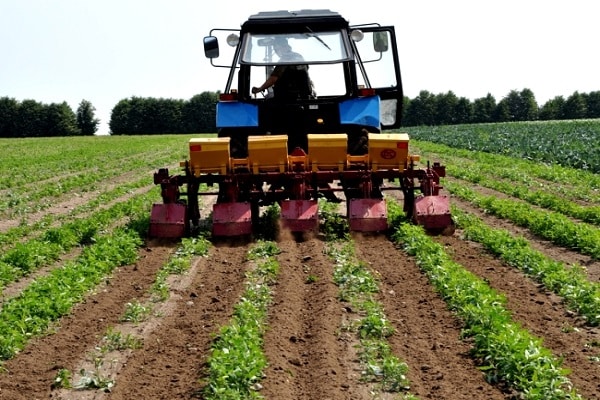
Weed control
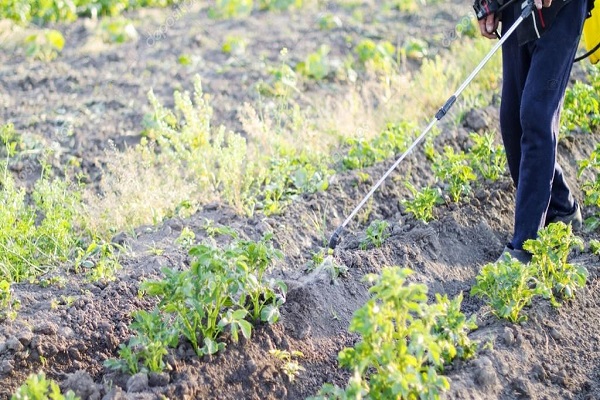
Spraying the plantation from weeds is a must, especially at the growth stage, when shoots have just begun to appear. In addition to the fact that they fill the site and prevent potatoes from growing, they also contribute to the appearance of harmful insects.
There are two ways to get rid of weeds.With the help of herbicides and the manual method. The use of chemicals is advisable if the area is large or overgrown with weeds. In summer cottages, it is better to use the manual method and get rid of weeds with a hoe.
Popular chemicals are Shogun, Alpha-Mais and Tornado 500. These products include phosphites, which are responsible for the destruction of weeds from the site.
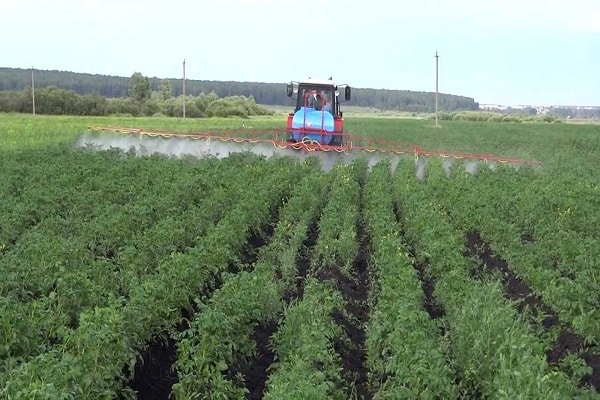
Treatment against pests and diseases
In most cases, chemicals are used to kill harmful insects. They are quite effective and help get rid of insects in a short time. You need to spray the bushes on a sunny, windless day. It is also advisable to know the weather forecast before the procedure. If it rains in the near future, then it is better to postpone spraying.
The following drugs are used to control pests:

- Before planting potatoes, the Tabu chemical is introduced into the soil.
- After the appearance of the bushes, they are treated with Fitoverm or Beetle Eater.
As a preventive measure for diseases, the bushes are sprayed twice a month. Ordan or Revus chemicals are used for this purpose. If there are both insects and diseases on the potatoes, then you should not mix different types of herbicides. It is necessary to use complex preparations of various spectrum of action. For example, the preparation Potato Rescuer. The preparation contains three ampoules:
- Insectoacaricide.
- Broad spectrum fungicide.
- Growth activators of stems and root crops.
The drug works for a short time and helps to save the harvest.
Fertilizers
It is believed that applying fertilizer directly to the hole is much more effective than spraying the soil. Before planting potatoes, a mixture of manure, wood ash and humus is introduced into the soil. Then they begin to plant.
Before the first hilling procedure, the bushes are watered with urea. For fertilization, take 1 tbsp. l. urea and diluted in 9 liters of warm water. Water the bushes under the root. The aisles are watered with mullein solution. Also use herbal infusion. For this, weeds are collected from the site, filled with water and insisted. The resulting solution is poured over the wells in the evening.
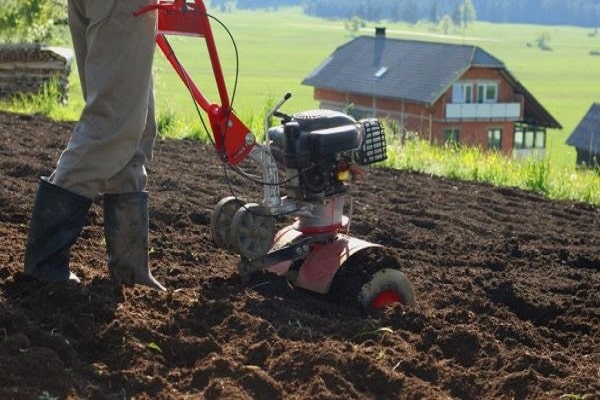
Hilling
Potatoes are sprinkled with a regular hoe. There are two hilling methods:
- Rake the soil around the plant in the center.
- Pour soil into the center of the bushes, spreading the stems to the sides.
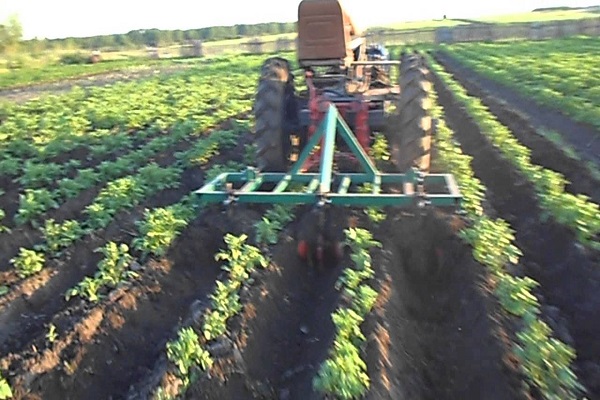
The ridge of the earth as a result of hilling should not exceed 25 cm. In the process, one should not forget that the root system of potatoes grows to the sides in length by 30–40 cm. Therefore, during hilling, one should try not to damage them.
A manual tiller is also used. With its help, the process should be simplified and time reduced. A walk-behind tractor is suitable for hilling. But if the site is small, then there is no need to use it.
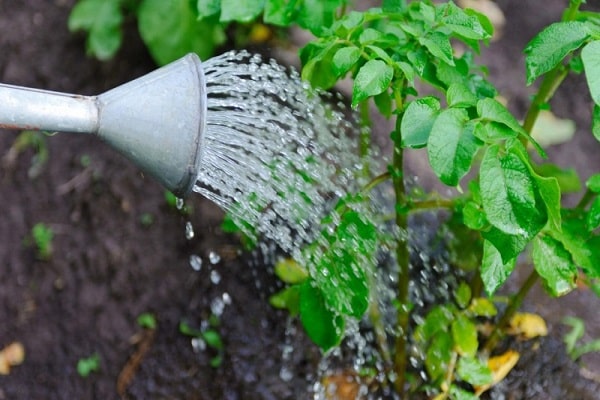
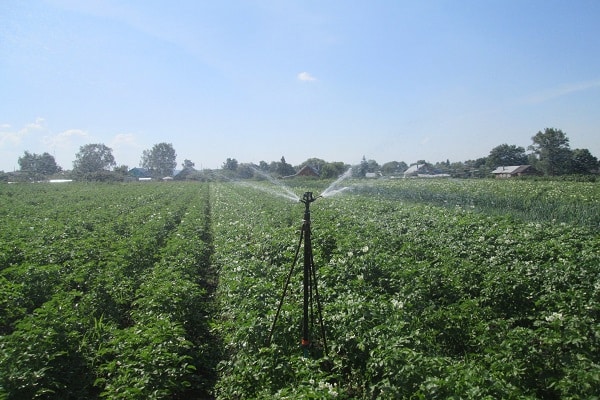
Watering
Potatoes do not tolerate stagnation of liquid at the base of the rhizome. It is not advisable to water the bushes often, but in accordance with the periods of growth of the shoots. The first watering is done after planting the potatoes, when the crop is being laid. The second time you need to water the bushes after the beginning of the flowering period. It is aimed at moisturizing the rhizomes and tubers.
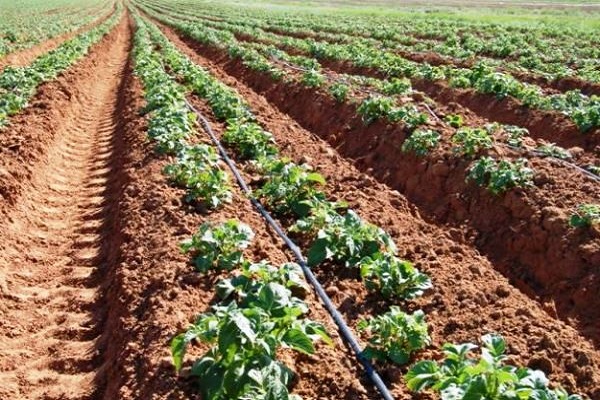
In accordance with the Dutch scheme, drip irrigation is used. Drip irrigation ensures an even distribution of moisture over the site and does not allow to destroy the formed beds.
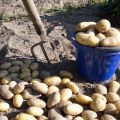
Harvesting
The timing of harvesting potatoes from the site depends on the purpose of growing the crop. Seed potatoes begin to be dug up in early August. At this time, the tubers reach those sizes that are considered optimal for future plantings. The bulk of the harvest begins to be harvested in the second half of August - early September.
Behind 14 days before digging up the potatoes, the bushes are sprayed with special solutions that dry the tops. Also, after using them, the peel becomes denser and the shelf life of root crops is extended.
How to adapt Dutch technology to summer cottage conditions?
The adaptation of the Dutch planting scheme to the conditions of the summer residence consists only in the adaptation of the options for preparing the substrate, but in the failure to fulfill all the preparation points. The cultivator for loosening is replaced with a fork or a Fokin plane cutter.
When growing potatoes at home, it is not necessary to use weed-removing chemicals. This method is necessary when growing potatoes on an industrial scale. And in suburban conditions, it is enough to walk around the site with your hands or a hoe to remove all the weeds.